I ordered a custom made Expedition One bumper with the smooth motion tire swing. The swing connects via a coupling to the tailgate, eliminating the need for a separate latch or handle for the swing. You just open your tailgate as you normally would and both open togther. I had Expedition One build a 2" receiver hitch into the back of the bumper rather than reusing the stock hitch which would hang below the bumper reducing clearance.
First remove you spare tire and the mount. Then remove your stock bumper.
The bumper comes in a huge box via FedEx. They use expandable foam to fill the box and keep it all undamaged.
Unpack your bumper. The hardware and bearings come in a separate box. Here is a look at the back of the bumper.
Here is a closeup of the reinforcement under the spindle/bearing.
Here is the back of the hitch, where E1 added extra reinforcement for towing.
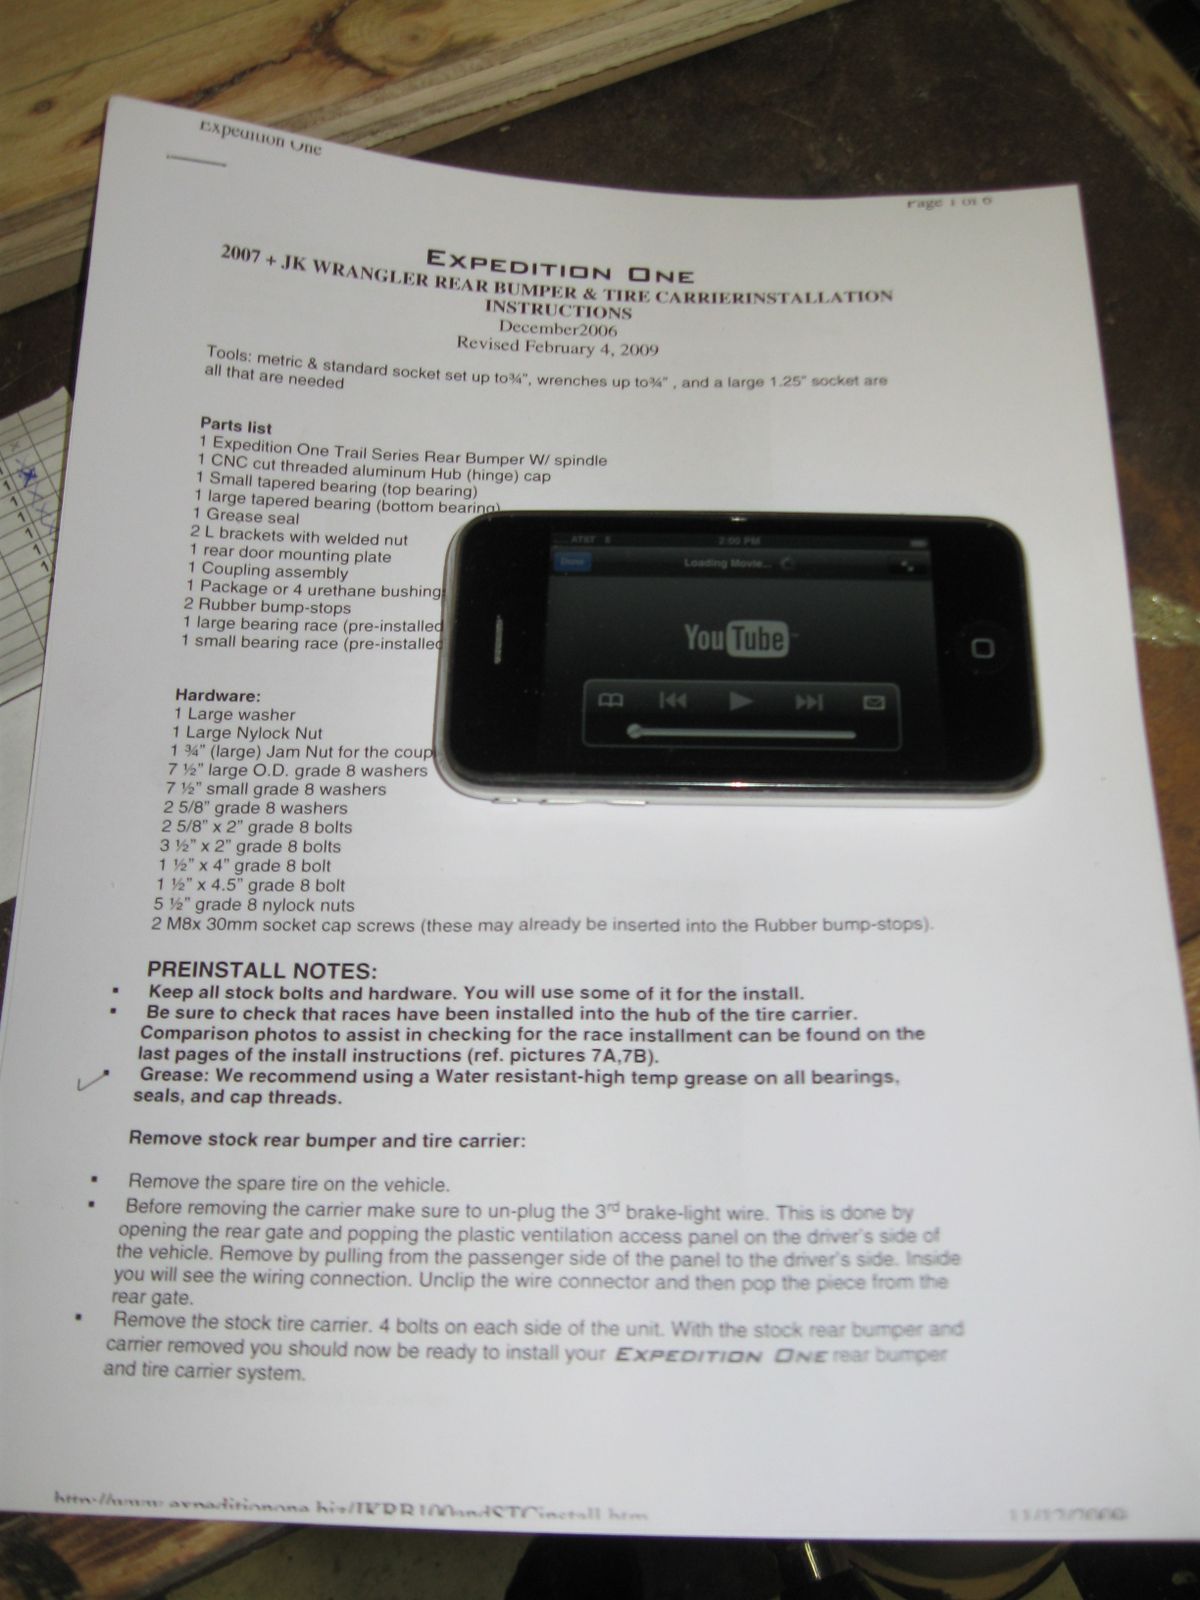
I used the directions I found on E1's website, and also the Youtube video of the install.
E1 recommends water proof and high temperature bearing grease. I found mine at Checker auto parts.
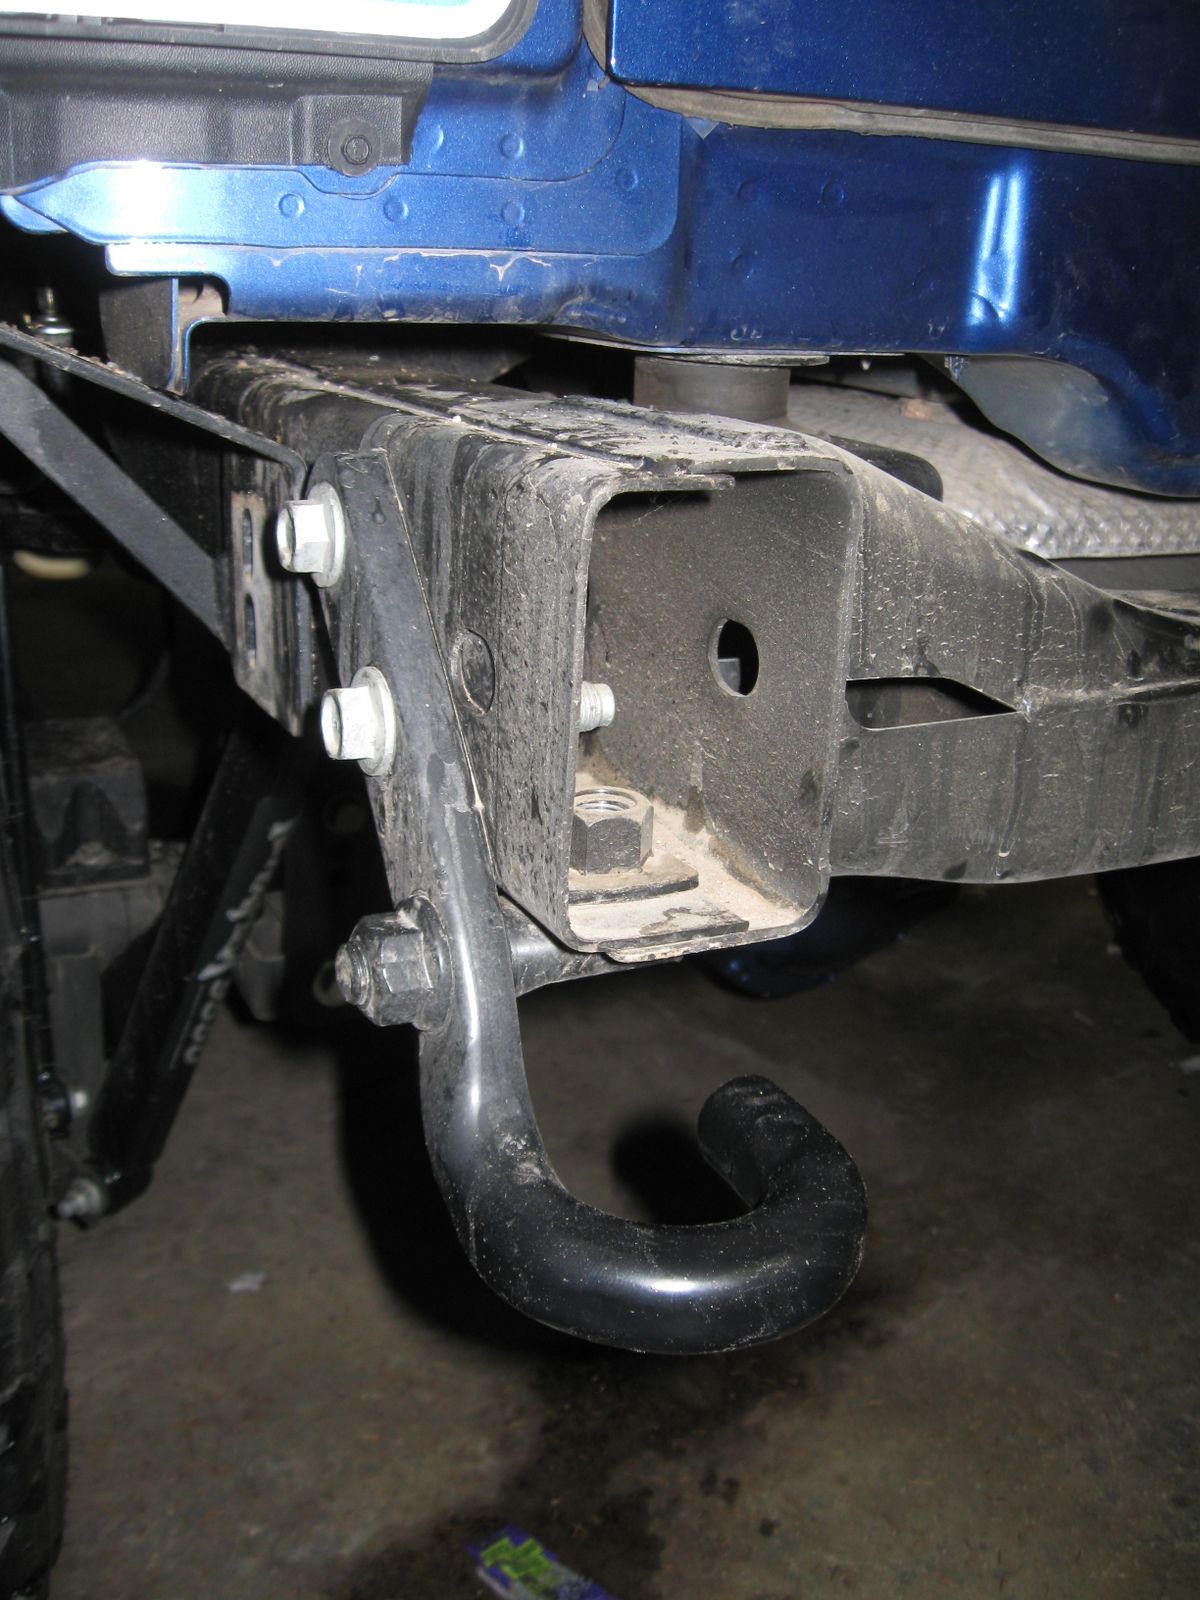
Next, if you have a tow hook and a hitch, unbolt them if you are not using them.
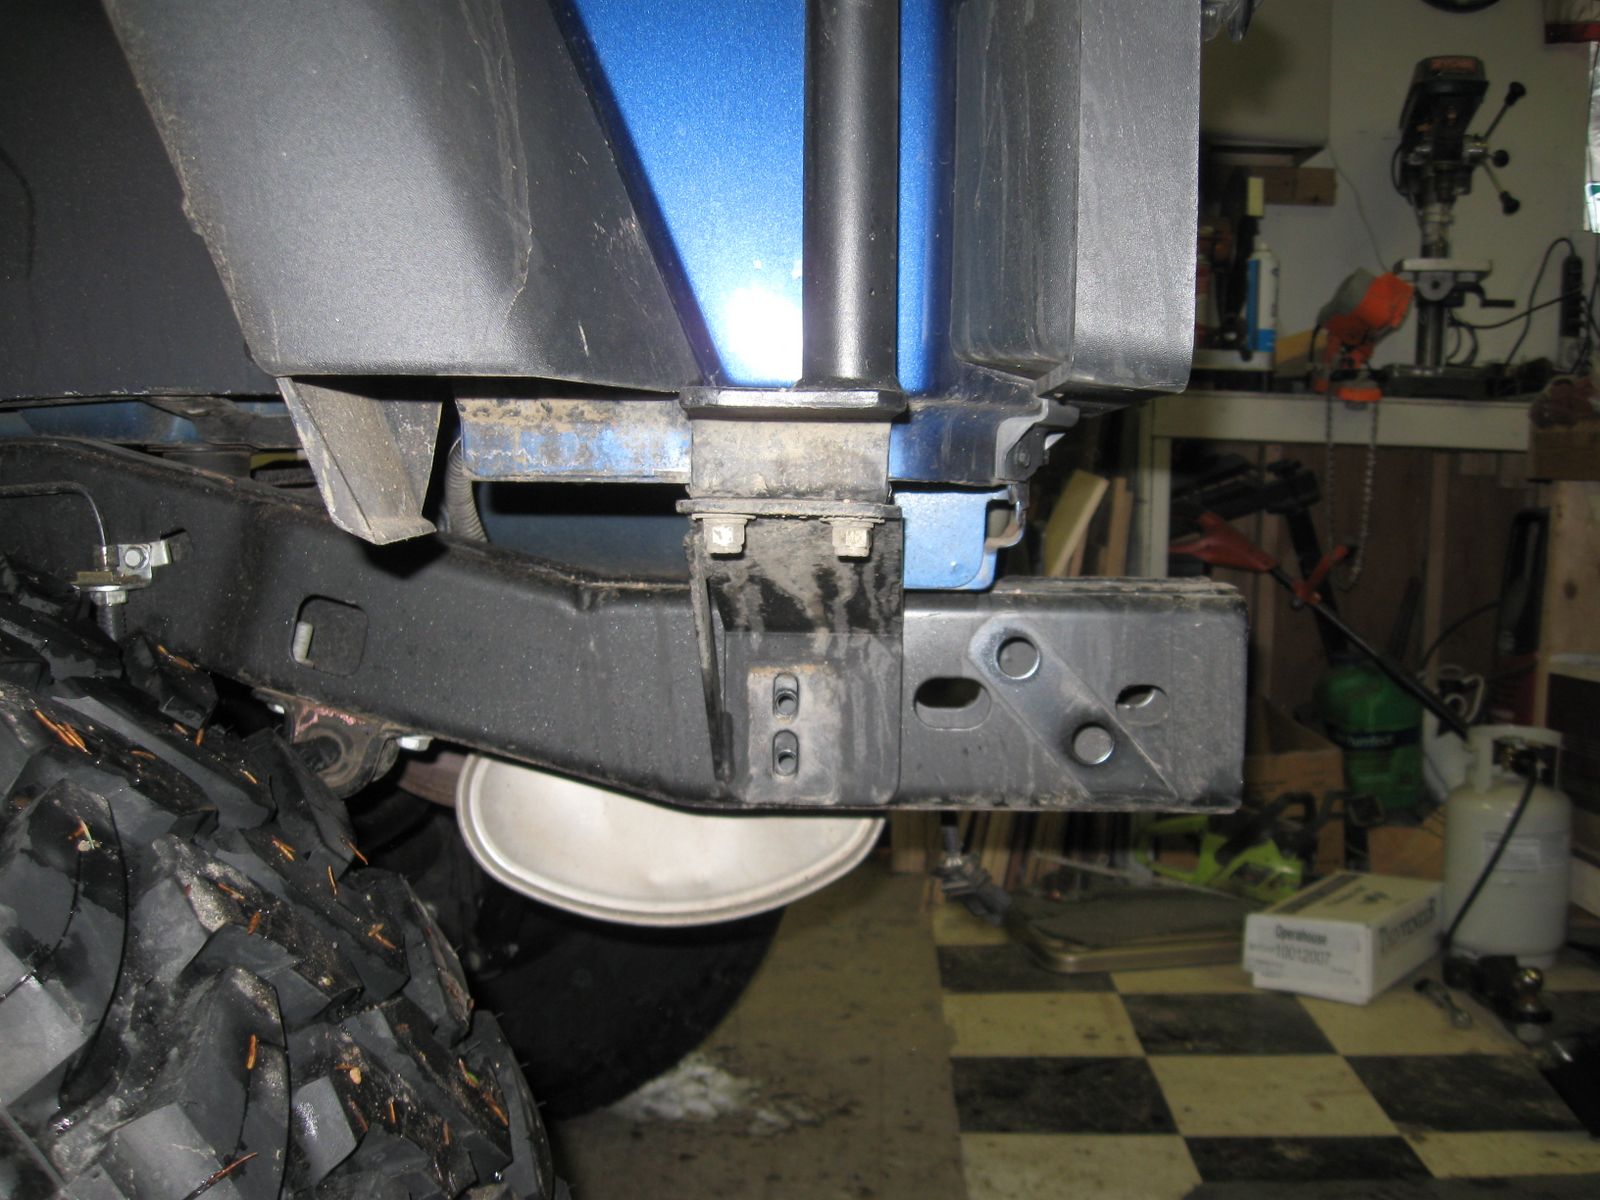
I have a Gobi Stealth Rack. Here is the rear leg of the rack where it bolts to the pinch seam, and a bracket that ties it into the rear frame.
I unbolted this bracket so that I could test fit the bumper. I put a 2x4 under there in case the weight of the rack was too much for the connection to the pinch seam. It turned out to be no big deal so I got ride of the wood supports.
Next I slid the E1 "L" shaped brackets that have a nut welded to them into the frame rails.
Then slide the bumper around the frame rails for a test fit. When I did this, I immediately noticed the Gobi rack bracket was not allowing the bumper to fully slide on. You can see them hitting here and the bolt holes are not lining up.
I decided to cut a notch out of the Gobi rack bracket to allow the E1 bumper more room.
After that the test fit worked fine. Before I installed the bumper, I noticed some chips in the powder coating.
I touched them up with spray paint.
I put the bumper back on and bolted it down.
Next I installed the bracket that the coupling mounts to the tailgate on.
Here is the coupling with the bushings installed.
Next I installed the plate with the wheel studs on it into the back of the wheel, and set the tire swing in place.
Mark the depth of your tire/wheel combo with a marker.
Make it a little tighter than your line and bolt it into place.
Next, install the bearings after greasing them into the housing of the spindle. Set the arm in place, and then bolt the coupling into place. After installed the spare tire, you may find you need to unbolt the coupling and adjust its length in order to get the swing to fit tightly against the bump stops on the back of the tailgate.
I had some left over parts when I was done. I realized this package was the extra CB radio antenna mount that I ordered.
You can bolt it onto the swing arm anwhere up and down it that you like. I chose directly next to the spindle to keep the overall height of the antenna lower.
The remaining parts I had looked like this.
It took me a few days before I realized what they are for. They are reinforcement for my hitch! The bolts go through the rear frame rail cross member in the holes where the stock hitch went. The "L" shape of these brackets meant they would not be able to slide into place behind the bumper. So, I cut the tab off, and after A LOT of tring, I managed to get them behind the bumper and the bolts in place. I had to remove my muffler to get enought room to work.
Here is the finished product.